How To Use Trail Cameras For Wildlife Photography
Wildlife photography usually involves hours and even days of painstaking stalking in the bush. Yet, even after so much hard work, it is usually a hit and miss. This is because wild animals are unpredictable and are wary of human presence. Even the slightest indication of human presence will spook them away.
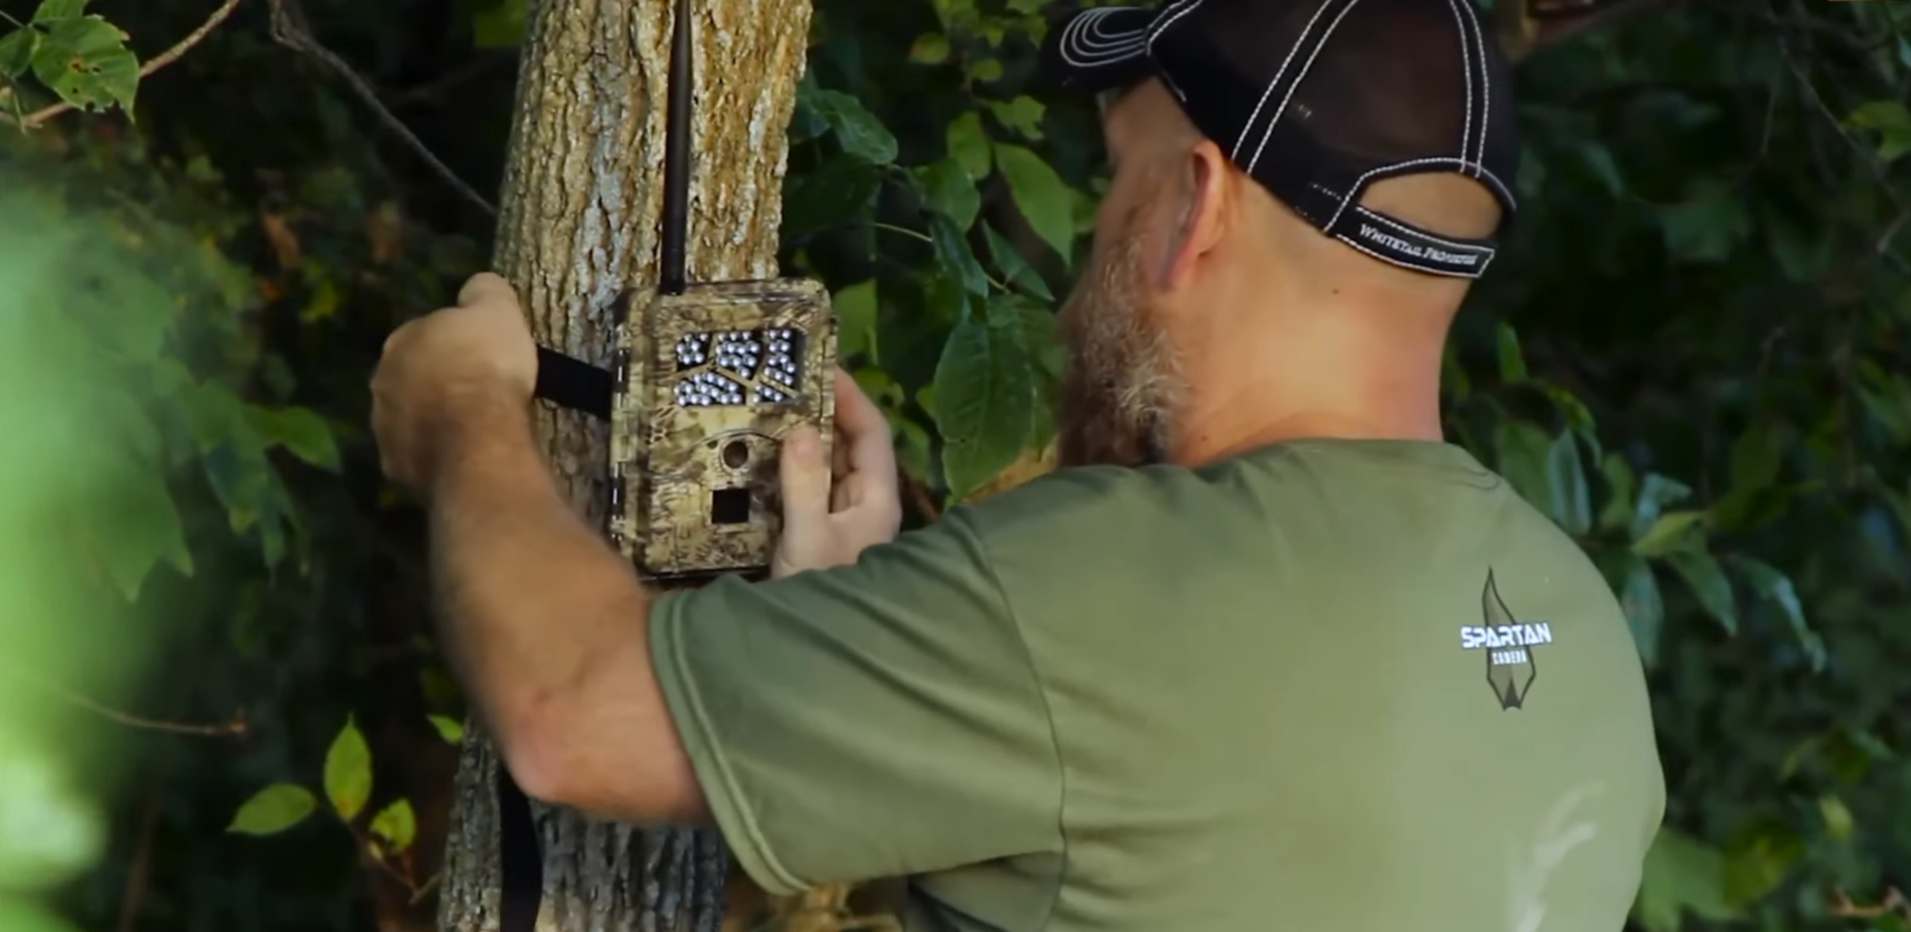
Nowadays, trail cameras or camera traps are used a lot for wildlife photography. Originally used for hunting, the unobtrusive nature of trail cameras has made them an invaluable aid for wildlife photography. Once set up, it records and takes photographs without any person being there to operate it.
All one has to do is set them up in areas where the wildlife is most likely to frequent. Some of the candid photos taken by even cheap trail cameras have surpassed expectations. Today trail cameras are widely used in wildlife photography and research. They play a massive role in wildlife conservation too.

Setting up a trail camera
A basic trail camera is simple to set up and operate. But you must consider some factors before setting up a trail camera to get great shots of wildlife. They are discussed in detail below-
The best location
The location you plan to set up a trail camera for wildlife photography is of foremost importance. Game trails, watering holes, feeding spots, etc., are some areas where the wildlife usually congregates or passes through.
Setting up your camera in such places will ensure that you have the best chance of capturing great shots of the wildlife in that area. Also, you must ensure that the camera’s field of view is not blocked due to the surrounding foliage.
Mounting a camera trap
It is essential to mount your camera securely not to get accidentally knocked off from a position. Most people use tree trunks to mount their cameras. However, once you mount the camera, you must take a few test shots to check if the angle is correct. The lens must not face the ground or face too far up.
What height is best?
The height at which your trail camera is mounted depends on the kind of wildlife species you want to take photos of. Usually, experienced wildlife photographers position the camera at the eye level of the target species.
At that height, you’ll be able to capture the entire head, face, and the majority of all of the body. For small animals like mice, squirrels, or even insects, the ground level is best.
The importance of the focus range

In most trail cameras, the focus range needs to be set manually. So once the camera is mounted, you need to select the focus range appropriately so that the target species is well within that range. This will avoid blurry pictures.
And importantly, you don’t need to go back to the site to reposition the camera or reset the camera’s focus.
The sunlight factor
It is essential to mount the trail camera in a shaded spot. If the camera faces the sun’s rays directly, the photos will have a glare on them. Also, if the sun is directly behind the camera, the camera may be triggered falsely due to the moving light and shadows as the sun keeps moving throughout the day.
Testing
Many people neglect to test the camera trap thoroughly after its mounted and set. An hour or two’s testing will save a load of trouble. Problems, if any, can be fixed then and there. It will save you the hassle of going back to the spot to reset the camera.
You could use a dummy or any other fixture to test your camera’s performance at different times of the day. This will allow you to go back in peace and wait in anticipation of great wildlife pictures.
Other considerations
Camera’s storage options
All trail cameras have memory cards to store pictures and videos. When it comes to memory cards, get a card with the highest storage capacity that you can afford. The extra memory allows the camera to store more information.
Besides, you’ll avoid frequent trips to your trail camera to download images and format the memory card.
It also helps if you have an extra memory card. Instead of waiting in the location to download pictures and format the card, you can switch the memory card with a fresh one quickly. Then, you can download the images at leisure once you reach home.
Remote control capabilities
The more advanced trail cameras can be configured from a distance or even from the comfort of your home. Remote trail cameras can be paired with your smartphone or PC. This allows you to tweak the settings from home whenever required.
Some of these cameras even send notifications to you through email or messages whenever they are triggered to capture images.
They also allow you to download pictures and videos remotely and even have cloud storage options. As a result, you don’t have to do frequent trips to the location and risk scaring away any wildlife.
Batteries

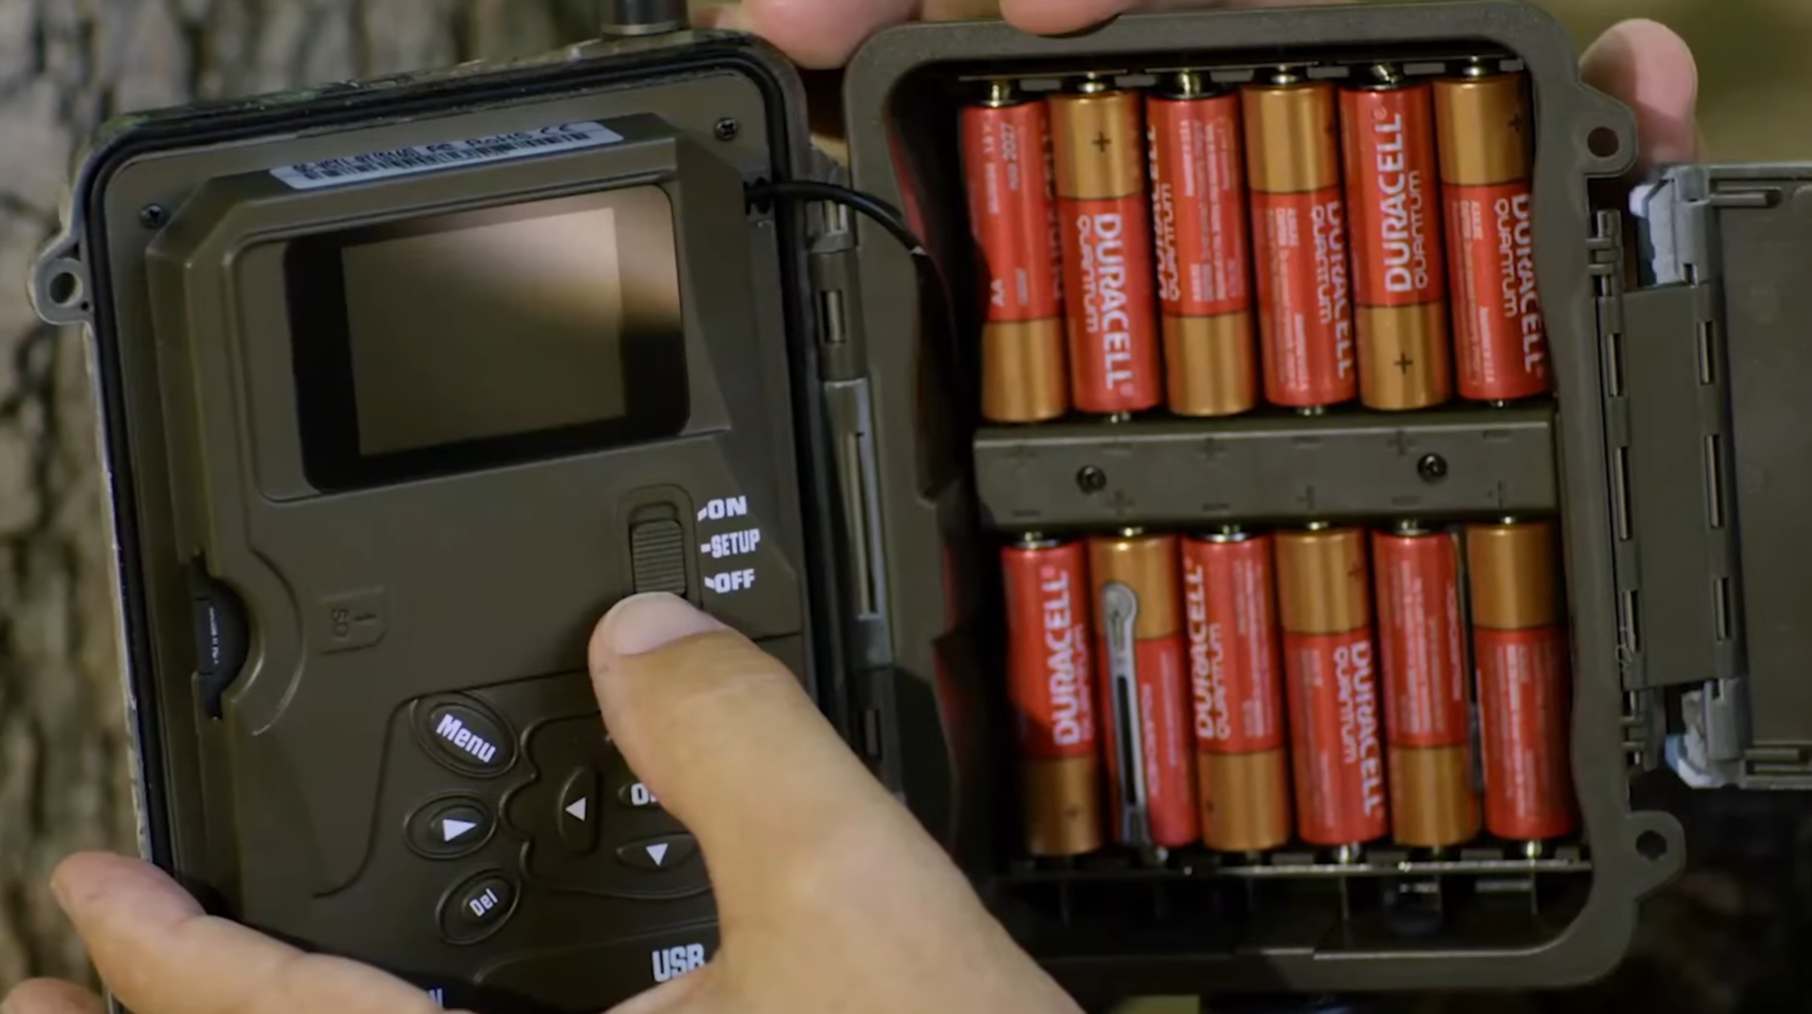
The trail cameras are optimized to save power as they start taking images only when triggered by movement. Still, using additional power packs and solar options with your trail camera is a great idea. You will have plenty of backup power and avoid going to the area frequently to change the batteries.
Night vision
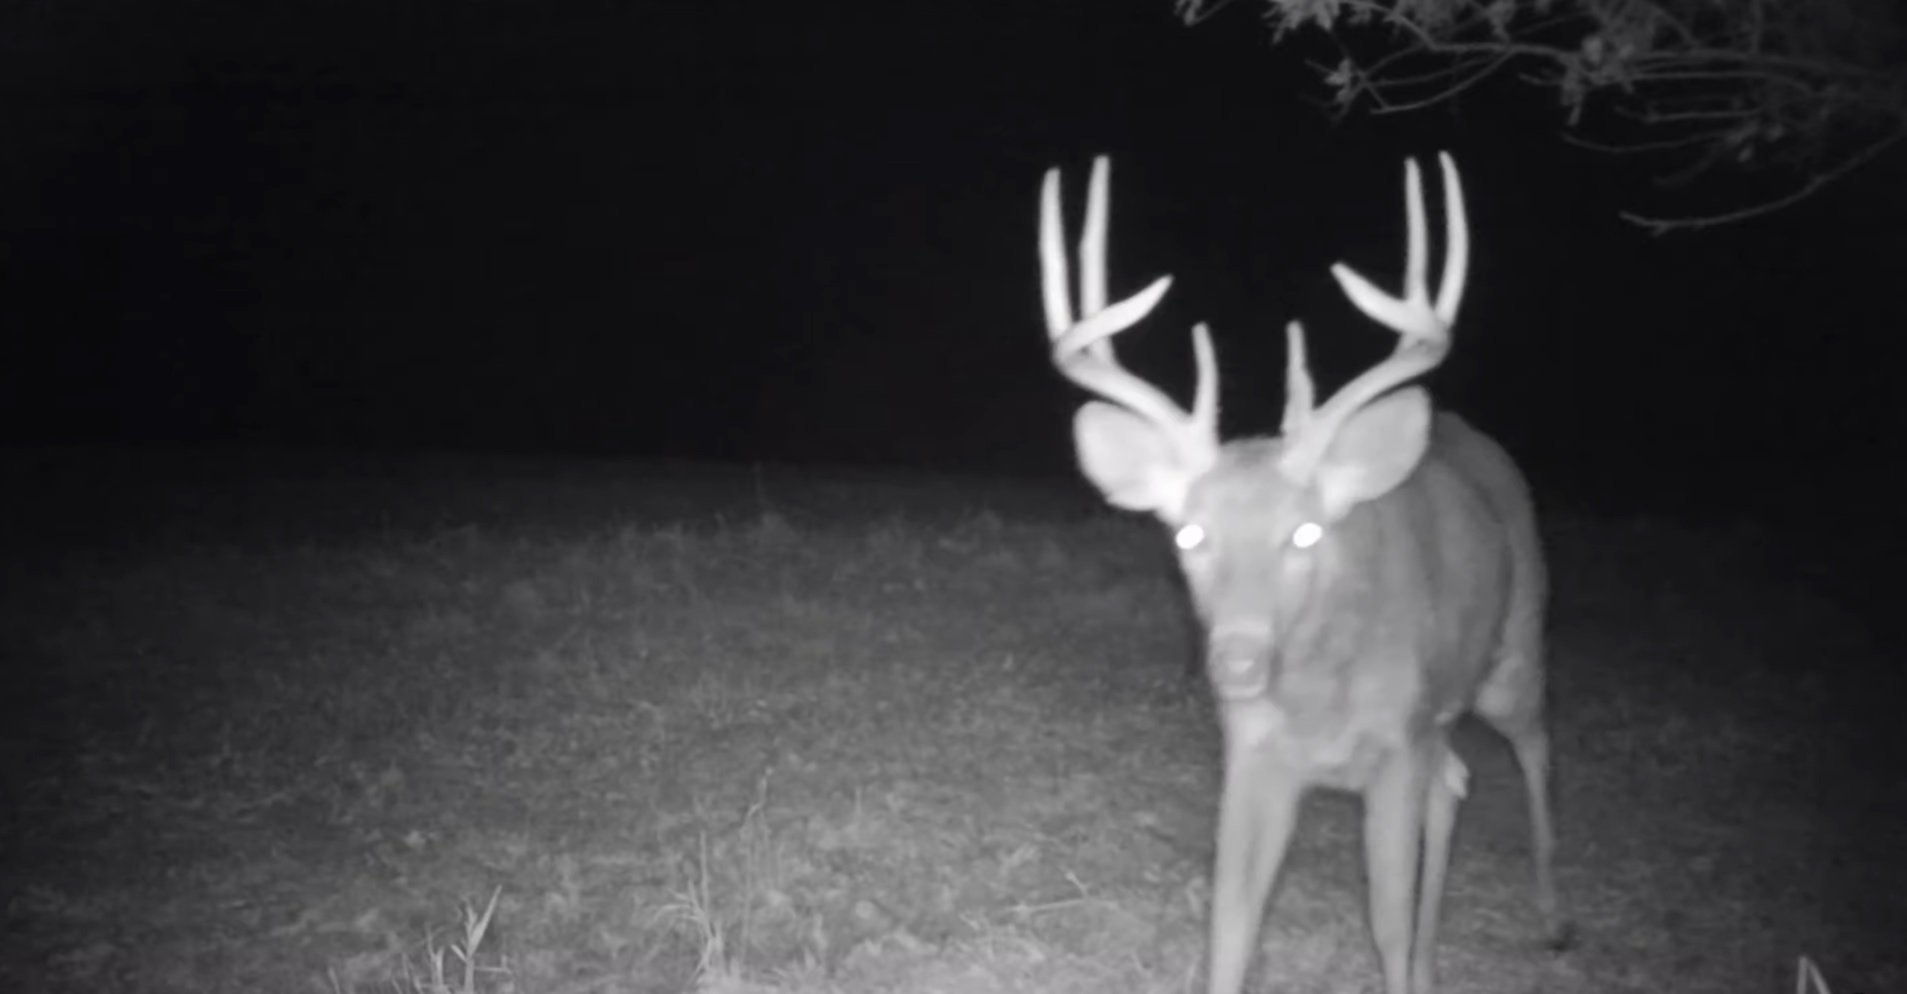
As all wildlife experts know, wild animals tend to congregate more during the night. If you don’t want to miss night shots, install a camera with night vision. Cameras with good night vision capabilities take excellent pictures during the night.
In fact, night vision camera trap images have led to some path-breaking research of the normally shy big cats.
Waterproofing
Most trail cameras are robust and have a good IPC rating. If you think the IPC rating for your camera is low, you can consider using a Tupperware box to encase your camera with a hole for the lens.
Final thoughts
The primary function of a trail camera is to take candid photos and videos of the wildlife while being unobtrusive. Once you set up your trail cam in a foolproof manner, you can go home assured of quality images of the wildlife in that area. You’ll be surprised at the vast variety of local fauna that the camera captures.
More importantly, don’t spend a bomb on expensive gizmos. While the more expensive ones have their uses, a cheap trail camera will give you excellent images and videos when set up correctly. Once you download the videos and pictures, date them and keep them well organized on your PC or laptop.
Read Also: 7 Best Upland Hunting Boots Review Of 2025 With Buying Guide